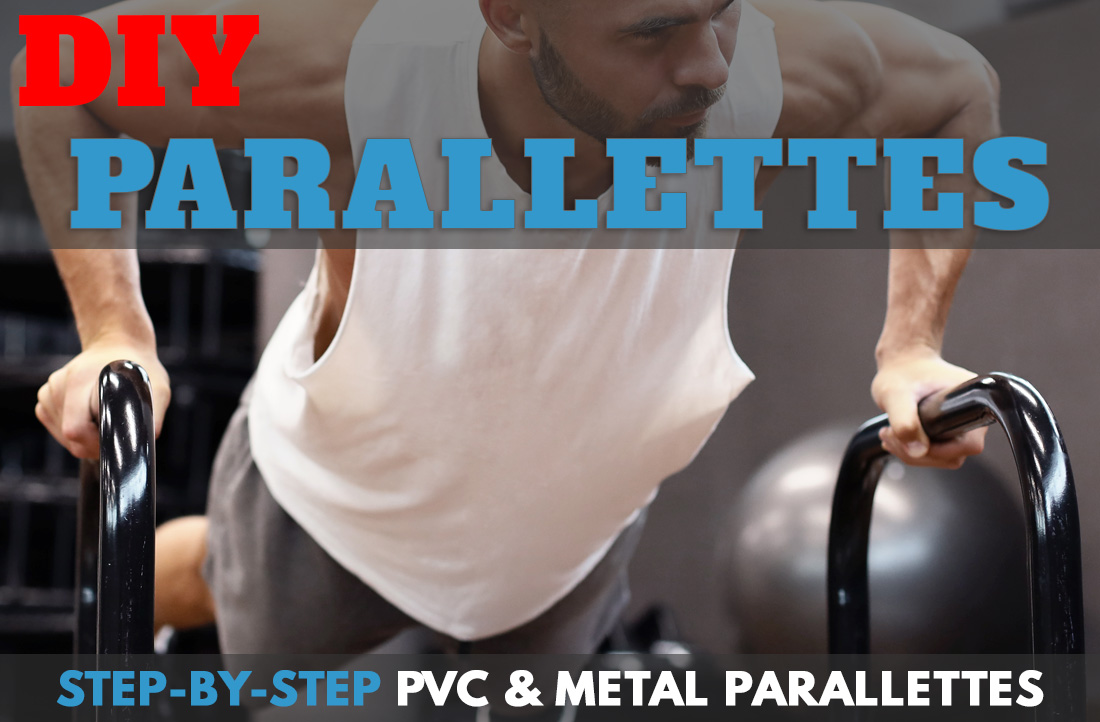
Parallettes is one of those pieces of exercise equipment that is so simple, yet so effective. Best of all, you don’t have to buy parallettes, you can make them.
We’re going to show you two versions of DIY parallettes bars. Parallettes made from PVC and parallettes made from Metal.
We’ll lay out all the tools and supplies you’ll need and give you step-by-step instructions that are simple to follow. We’ll end with some pro tips to help you get the most out of your homemade parallettes bars.
If you like working out at home, you’re going to love the excellent bodyweight workouts you can do with these.
You can work out a variety of muscle groups on these mini parallel bars. They are strong, lightweight, and easy to move around. Best of all, it’s pretty simple to make a set of these yourself at home.
SHOULD YOU MAKE PVC OR METAL PARALLETTES?
If you’re a beginner, you may want to start with the galvanized steel version, as it’s a bit easier.
If you are already pretty handy with a hacksaw and cement, the PVC version is a bit cheaper to build. You will have to roll up your sleeves and get your hands a bit dirtier, though.
I suggest you check both methods that I show here and then decide between making it from PVC tubes or metal.
Oh, and one more thing, after your homemade parallettes are ready, I suggest you also make your own pull-up bar, so you can also do pull-ups and chin-ups too. And there you have it, a pretty decent bodyweight workout with just just a couple of DIY home gym equipment.
Parallettes Workout At Home – The Advantages
Strong Core
Parallettes are great for core work. They help you train your stability so you can develop a better sense of balance.Besides the large muscle groups they target, they also zoom in on your smaller stability muscles.
When you elevate yourself on these bars, your core becomes inherently less stable than the floor surface. This puts a ton of pressure on your stabilizing core muscles to prevent you from falling off, which will, in time, become second nature to you.
Assists in Push-Ups and Dips
It doesn’t matter if you’re a beginner or an expert. Parallettes work well for both.
If you’re not strong enough yet to do a full-body push-up or dip, you can use your parallettes to get you started. Leave your feet on the ground while you do an easier version of the movement. From there, you can build up your strength until you are a push-up master.
Make Exercises Harder
You can also use your parallettes to do harder versions of these exercises. You can do push-ups with your parallettes that go farther down than a regular floor push-up. Or if you want to turn your world completely upside down, try transitioning to handstand push-ups.
For a more difficult dip, bend your knees beneath you, lift your feet off the ground and dip down using your full body weight. If you want a real challenge, try extending your legs out in front of you in an L-shape and do a few dips with your center of gravity above your wrists.
Easy to Move Around
The best thing about parallettes is their versatility. You can move them around quickly as a set or even move them independently of each other if you need a wider or narrower grip. This allows you to work out basically any muscle group imaginable, in any location you wish.
The more variety you can bring to your workout, the better your chances are of sticking with it. You can look up “parallette exercises” on YouTube or search for the hashtag “#parallettes” on Instagram to see what people around the world are doing with theirs.
As you can see there really are a lot of benefits for having a pair of parallettes bar at home, even though I’ve scratched the surface about how great they are for bodyweight exercises.
Tip: I like doing various bodyweight exercises on the parallettes and alternating with the granddaddy of bodyweight exercises, the burpee.
DIY PVC Parallettes
TOOLS
- 1 Hacksaw
- 1 Measuring tape
- 1 Marker
- Fine grit sandpaper
SUPPLIES
- One piece of 1 ¼-inch thick PVC tube, 10 feet long (If you are on the heavier side, you may prefer to use 1 ½-inch pipe.)
- Eight end caps that fit the pipe you plan to use
- Four 90-degree pipe elbows
- Four T-joints
Optional
- PVC primer and cement
- Spray paint made for plastic bonding, your choice of color
- Newspaper or cardboard, to put underneath when painting
- Grip tape
STEPS
- We’ll start by cutting the pipe into the appropriate lengths. For this project, you’ll need two 20-inch lengths, four 10-inch lengths, and eight 5-inch lengths.
- Use the measuring tape and marker to divide up the 10-foot length of the pipe.
- Following your markings, cut the pipe into the right lengths with the hacksaw.
- Use fine-grit sandpaper to file down the rough pipe ends so they fit into the elbows and T-joints.
- Now, let’s assemble the frames. Connect an elbow to each side of both long pieces of pipe. Then attach the 10-inch lengths to the opposite end of each elbow.
- Next, put a T-joint at the bottom of each 10-inch piece.
- Connect a 5-inch length to the remaining open ends of each T-joint.
- Put an end cap on the open end of each 5-inch piece.
Optional
If you want to be doubly sure your parallettes will remain sturdy over time, you can glue the pieces together with PVC primer and cement. Repeat steps 9-12 with each end of each piece of pipe.
- Choose a pipe end, and make sure it’s clean. Wipe the outside of the pipe end and the inside of the joint attachment with PVC primer.
- Give it about 10 seconds to dry, then evenly spread a thin layer of PVC cement over the primer.
- Orient the pipe end and fitting about a quarter of a turn from their final alignment. Push the two pieces together as you twist the fitting the last quarter turn.
- Press the pieces together firmly for about 15 seconds to make sure the cement bonds.
Decorate
- If you want to customize your parallettes with a lick of paint, make sure to put down a layer of newspaper or cardboard first to protect your floor.
- Spray your parallettes, coating them with a thick layer of spray paint until all angles are entirely covered.
- After the paint dries, finish up by wrapping the main bar with some grip tape in strategic locations to make it easier on your hands.
TIPS
- If your spray paint job starts to come off in places later, you can use a Sharpie to fill in the holes.
DIY Metal Parallettes (Galvanized Steel)
TOOLS
- 1 Pipe wrench or pliers
- 1 Retractable utility knife
SUPPLIES
For this project, we’ll use ¾-inch galvanized steel pipe. Be sure to buy pieces with screw threads on the ends. Also, make sure that all the pieces fit together, including the elbows and T-joints.
Here are the lengths you’ll need:
- Two 24-inch pieces
- Four 18-inch pieces
- Eight 6-inch pieces
- Four 90-degree pipe elbows
- Four T-joints
- Eight mini tennis balls (You can usually find these in any pet store or dollar store. They are slightly smaller than regular tennis balls, designed for playing fetch with small dog breeds.)
Optional
- Bicycle handlebar tape
- Electric tape
STEPS
- Let’s start by screwing the pieces together by hand. Attach a pipe elbow to each end of each 24-inch length.
- Next, screw in an 18-inch length to the other end of those elbows to make two long U shapes.
- Attach a T-joint to each end of each U-shape.
- Finally, screw in a 6-inch length to each remaining end of each T-joint. You should now have two metal U shapes with Ts at each tip. This is the skeleton of your parallettes.
- For extra safety, you should tighten each joint with your pipe wrench or pliers. You can get away with hand tightening, but your parallettes may eventually come loose and hurt someone. Follow this step to make sure the joints never loosen or begin to wobble.
- Use the retractable knife to cut about a ¾-inch slit in each mini tennis ball.
- Put a tennis ball on each exposed end that sticks out of each T-joint. This will help protect your floor from metal scratches. It can also prevent your parallettes from slipping out from under you.
- (Optional) You can protect your hands and give your bars extra grip with some tape. Bicycle handlebar tape which you can find in most bicycle shops or online, works well for this purpose. Wrap the handlebar tape around the areas you plan to use most. If you have trouble getting the handlebar tape to stick to the metal pipe, you can use electric tape to secure the ends.
TIPS
- If your floor is made out of hardwood or concrete, the mini tennis balls should work just fine. If you plan to work out on a carpeted floor, end caps may work better. Instead of tennis balls, buy eight end caps that fit snugly onto ¾-inch pipe ends.
The great thing about this version is that you can take it apart if necessary. You can even buy a few extra sets of pipe lengths to substitute for the 18-inch legs to make your parallettes taller or shorter. - For some great push-up parallettes, we recommend buying two extra 6-inch pieces. Swap these in for a short version of the bars. The shorter version is easier to transport in the trunk of your car.


Leave a Reply