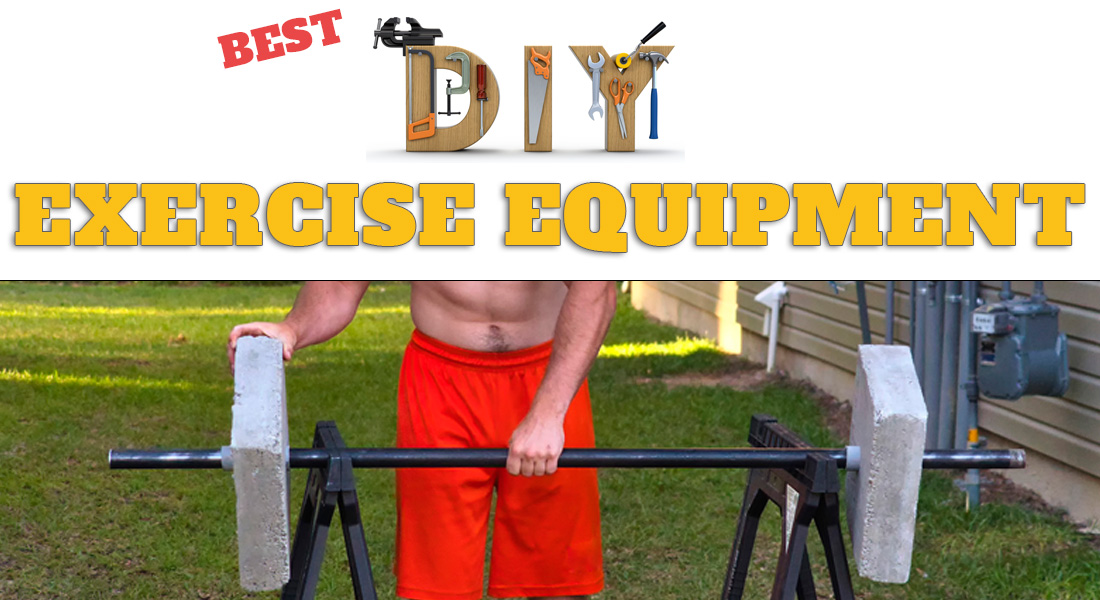
One of our goals here at GymPerson.com is to show you how you can work out at home by making your own exercise equipment.
There really is no need to buy any expensive machines in order to get fit.
We’ve got nothing against buying equipment for your home gym, all we are saying is you don’t need to spend money in order to get fit, strong, or lose weight. Instead, why not make your own DIY home gym? It’s actually easier than you might think.
We’ve spent years compiling the best ideas for homemade fitness equipment. In this article, we’re putting it all together in one place to make sure you can find everything you need to start building your own DIY home gym.
Whether you are looking to make equipment with which you can have a full-body workout, targeting specific muscle groups, or doing cardio at home, we’ve got you covered.
We’ve included homemade gym equipment plans that take only half an hour to make, along with more complex machines using wood that can take you a couple days to build. Each plan comes with a list of needed supplies and tools followed by clear step-by-step instructions that are easy to visualize and follow.
MAKING VS. BUYING EQUIPMENT
Can DIY exercise machines really be as effective as gym equipment being sold for home use, or even the ones used in gyms?
The short answer is yes.
They may not have all the bells and whistles of commercially available machines or be as pretty. However, as far as effectiveness goes, most of these homemade machines can be just as good for working out as commercially available machines.
The Advantages Of Making Your Own Equipment
You probably already know that you are going to save money, but there are a couple of more good reasons to make your own home gym equipment.
SAVE MONEY
So we’ve said it, you’re saving money is a no-brainer. It’s probably why most of you are here. A few planks of wood or lengths of PVC or iron pipe cost a lot less than commercial gym equipment. If you make a piece of equipment that you end up not using, at least you won’t have spent much money on it.
BUILD A MACHINE THAT FITS YOU PERFECTLY
You can tailor each thing you make to your specific body type and needs. For example, you can make an exercise stepper that will be the perfect height for your knees. Likewise, make DIY battle ropes that will fit your available space exactly or a homemade pull-up bar that is just the right length for your body type.
IT’S FUN
Making stuff can also be fun! If you enjoy working with your hands to build things that make you proud, you have a true DIY soul, and you’ll love our DIY projects. Besides, we think working out on the machines you’ve built yourself is so cool.
If you don’t know yet whether it’s your thing or not, we recommend you start with an easy project and see how you feel about it. If you love it, try something a little more advanced. If you end up hating the making process, at least you’ll have a unique piece of DIY home gym equipment that you can use.
IMPROVE YOUR SKILLS
Every time you learn how to make something, you become a little more self-sufficient. Not only will you have learned about that specific piece of equipment, you’ll have discovered the clever DIY principles behind it. You’ll also acquire some new woodworking techniques along the way or learn how to use a new tool.
Is It Hard To Build Your Own Home Gym?
Not at all. In fact, it’s easier than you think. We’ve included home gym equipment plans that practically anyone should be able to throw together, along with a few that require more expertise. Besides, many of our home gym ideas are made of things you can find around your house.
What Kind Of Exercise Equipment Can You Make?
It starts from some very basic (yet very effective!) stuff and goes to some more advanced equipment plans.
Basic Exercise Equipment
You can make a set of DIY free weights out of old bottles and some cans.
Don’t make the mistake that a simple solution isn’t as effective as more complicated DIY projects.
One of our DIY rowing machines is cobbled together from an old skateboard and some resistance bands. These easy projects should only take about half an hour from start to finish. Even the tools needed are pretty basic. The most complex tool you’ll need is a power drill and some drill bits, as well as some basic tools like a tape measure, a pair of pliers, screws, and nails.
Machines That Complement One Another
A few of the pieces we’ll show you how to make can even build on each other. For example, once you’ve made your DIY pull-up bar, you can use it to attach your DIY high pulley. Likewise, you can build a simple cable crossover machine and then use it to attach a slightly more complex homemade rowing machine.
Building Robust Machines
While you can create some exercise equipment out of PVC pipes, sometimes you want that extra rigidity that comes from heavier material.
If you’re a beginner, equipment made from galvanized pipe is strong yet easy to put together. You just need to get the correct lengths of pipe with the right attachments. After that, it’s easy to follow our step-by-step instructions on which piece screws into which attachment.
Examples of homemade gym equipment that use galvanized pipe gym include parallettes, power tower, and pull-up bar.
Some Equipment Needs Anchoring
Some pieces of equipment need to be anchored to a wall or ceiling. If you’ve never put up a wall or ceiling anchor, you’ll need to learn about ceiling joists and wall studs. If you jump right in without knowing how to find these and use them correctly, you could damage your property.
Structural Integrity
Keep in mind that any gym equipment you make will probably take a bit of a pounding over time. Weights and kettlebells will be dropped. Bars, pulleys and steppers will need to bear your weight plus your movement.
If you have any doubts about the structural integrity of any piece of equipment you build, we recommend extreme caution. Don’t use components that wiggle or wobble in ways they aren’t supposed to. If something you make looks unstable to you, ask your handiest friend to take a look at it.
Advanced Homemade Gym Equipment Plans
Building more advanced equipment can involve some woodworking and moving parts. The wooden power tower and dip station projects are good examples. Woodworking requires precise measurements, or you can end up with lopsided equipment, where one side is smaller than the other.
These projects require a higher skill level and may take a few days to build. The end result of each, however, is very satisfying. In addition, these machines tend to be strong, long-lasting, and create a more aesthetic home gym, so we believe it will be worth every drop of sweat.
Making Gym Equipment Out Of Wood
Wood is a strong building material that doesn’t cost too much. Even if you’ve never worked with it before, it doesn’t take a lot of time or experience to learn the basics of woodworking.
The most challenging part of our DIY projects that involve wood is cutting the pieces to precisely the proper lengths. If you don’t have a wood saw and lots of experience cutting wood, bring a list of the precise measurements you need when buying the wood. You can probably get your lumber yard to cut their lumber to your exact specifications. It won’t cost too much more and can save you a lot of hassle.
If you prefer to cut your own planks, a good tip to remember is that most of the pieces you’ll need come in pairs. gym equipment is generally symmetrical, which means you’ll need at least two crossbars or legs or pillars of the same length. You can make sure the pieces match by measuring and cutting the first one and then using that plank to measure and mark its pair.
Some kinds of wood, especially oak, can split open if you put screws along its grain lines. You can avoid this by first drilling a hole where the screw will go using a slightly narrow drill than the screw. That helps makes room for the screw and puts less pressure on the wood fibers that could weaken the plank.
We try to use heavy-duty L brackets when a project requires joining two planks. This results in more durable equipment than if you just nail or screw the naked planks together. More durable equipment means less chance of accidents.
Are you ready to build your very own home gym? Here we go.
Best Ideas For Homemade Fitness Equipment
DIY Pull-up Bar
Pull-ups and chin-ups are some of the most basic yet efficient bodyweight exercises there are. For that reason, most home gyms and garage gyms have a pull-up bar. If you’re looking to start with a project that’s easy to make, a homemade pull-up bar is an excellent introductory piece.
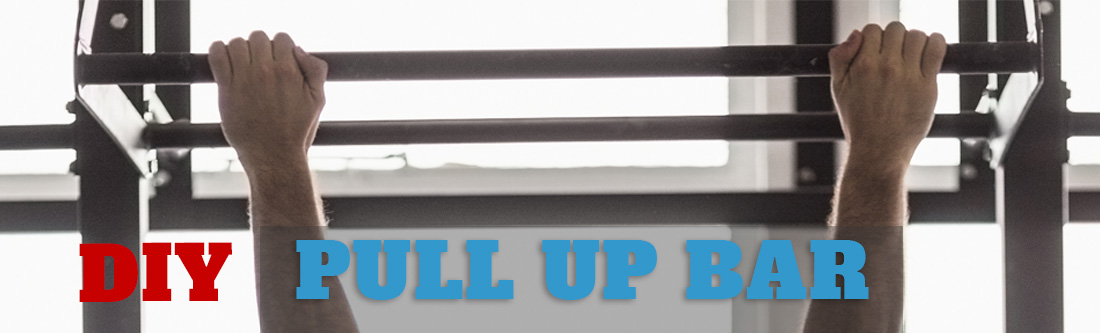
The doorway pull-up bar is the easiest, as you can attach it to any doorway without messing with wall studs.
If you are up for a bit more work, there’s also the ceiling-mounted pull-up bar that you can mount to most walls or ceilings in your house.
First, you’ll need to learn how to locate the ceiling joists or wall studs beneath the surface of your structure. This may sound complicated, but we include an easy way to do it with just a hammer and a thin nail. Most homemade pull-ups galvanized pipe, but sometimes you may need to cut some lengths of wood for extra reinforcement and safety.
Link: How to make a pull-up bar (step-by-step)
Just like your backbone is the anchor for most of the muscles in your body, your pull-up bar can be the anchor for the rest of your gym equipment.
Pull-ups hit your back muscles hardest, but you can find variations of the movement that hit almost any muscle group. For example, chin-ups will target your back and assisting muscles slightly differently than pull-ups will.
You can place your hands close together to target your shoulders or far apart to target your chest. Pull-up curls will hit your biceps, and the dead hang will strengthen your grip.
Triceps dips can be challenging on a pull-up bar, but your massive future triceps will thank you. You can also use the bar to work on your abs with leg raises or define your obliques with windshield wipers. Just this one piece of equipment can get you well on your way toward that comic book superhero inverted-V look.
Homemade Weights
Have you seen a decent home gym without weights? We haven’t.

Another part of your DIY home gym that’s both versatile and simple to make is a set of homemade weights.
This project steers you through making a set of fixed weights that will only take about half an hour max. Each one can weigh anywhere from around two to 15 pounds.
The general idea is to find old bottles, bags, and socks and fill them with water, sand, canned food, or other weighty things you have handy. Then, you can tie a knot at the top of your bag or sock to make a handle or use bottles with their own built-in handles.
These relatively light weights are great for working out smaller muscles like your biceps, triceps, and deltoids. Your arm and shoulder muscles are shorter and/or thinner than your leg, chest, and back muscles, so they lift less. That means that they’ll respond well to lighter weights. For good arm symmetry, don’t forget to work your triceps just as hard as your biceps.
You can also hit your chest at home pretty hard by doing presses using makeshift weights without using a bench.
Who said a weight must look like a dumbbell?
If you know of a scrapyard or machine shop nearby, you can make heavier weights from old car parts or machinery. For example, a tire and some straps can quickly come together to create a weight sled. Likewise, you can deadlift pieces of an old engine block or bench press a defender axle if you spend a bit of time cleaning it.
Link: How to make homemade weights (step-by-step)
The great thing about free weights is that they can give you a full-body workout with just a little ingenuity.
The easiest place to start is lifting the lightest weights upward against gravity to define your arm and shoulder muscles. You’ll be surprised what a few weeks of exercising with a bottle full of sand and a lot of reps can do for the definition of your muscles.
If you’re ready to level up, it’s also pretty easy to build some DIY mass. All you need is one big, heavy thing that you can hold in two hands to start doing weighted squats and deadlifts.
It’s a little harder to move on to bench presses, pullovers, and lunges using homemade weights. You’ll need heavy items with correctly placed handles and maybe even a weight bench. But even these can be done with old pieces of iron or steel machinery and a few straps.
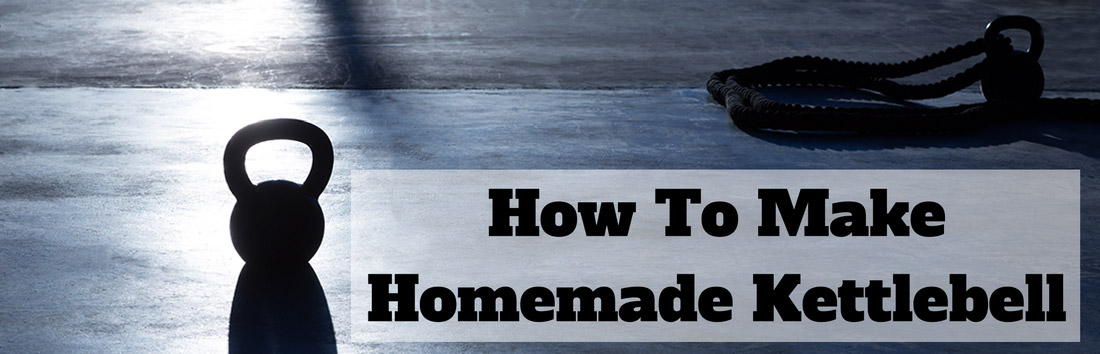
DIY Kettlebell
A kettlebell is another kind of free weight with much versatility. There are so many exercises that you can at home using a single DIY kettlebell.
Like any weight, a kettlebell can improve your strength, endurance, and heart health. It also works great as a doorstop to keep the door open and let the breeze blow through your sweaty garage gym. Kettlebell exercises are also an excellent addition for athletes in combat sports.
Unlike dumbbells, the handle raised above the heavy sphere prevents you from using your natural mechanics to get under the weight and lift it. Instead, the kettlebell makes you use your grip strength to move it around.
The main advantage of this unwieldy shape is it requires you to focus your whole body’s strength into your grip. This is incredibly handy for sports like climbing and Jiu-Jitsu, in which strong fingers and hands can make the difference between winning or losing.
You can make an easy beginner’s kettlebell out of just a sturdy plastic or canvas bag and some heavy groceries. We recommend bags of rice or beans because they pack together smoothly and don’t have any sharp edges. Put the groceries in the bag, and tie the open end shut. Tie a second bag over the first for extra safety, and leave a large loop in your knot that you can use as a handle.
If you want a heavier, more durable kettlebell, here are a few more advanced DIY options.
Link: How to make a kettlebell in minutes
You can use the kettlebell along many different planes of movement to work out practically any muscle in your body. Every exercise motion you do is a two-for-one deal that works on both your target muscle group and your grip strength along that plane of movement.
Many kettlebell exercises are also compound movements. Compound movements, like the shoulder halo or the single-arm squat to press, hit multiple muscle groups at the same time. As a result, they force you to be aware of and coordinate your whole body together, which will improve your athletic ability.
Kettlebell exercises can also improve your balance and increase your range of motion. They help you build lean muscle, correct your posture and reinforce your joints and ligaments.
Battle Ropes
The excitingly named battle ropes are based around a pair of long, thick ropes. One end of each is fixed to a stable structure, and you hold the other ends, one in each hand. You can use this battle ropes for some low-impact exercises that take your endurance through the roof.

The ropes need to be long enough that you can send waves undulating fluidly from the open ends toward the anchor point. They should be thick enough to feel heavy in your hands but not too thick that you can’t hold them tightly.
Each rope should ideally be around 15 to 25 feet long. You can also use one 30- to 50-foot rope and double it around your anchor point. Shorter lengths don’t allow the waves to travel as fluidly.
Because of their length, battle ropes work better as DIY outdoor exercise equipment. If you don’t have a big yard available, you may be able to place the anchor in one corner of your workout space and run the ropes across your room diagonally.
The easiest way to make this equipment is to buy thick ropes and anchor them by pounding a stake into the ground. You can also make DIY battle ropes by braiding multiple thin ropes together to create a thicker one. If you have an old garden hose lying around, you can fill it with sand for extra weight, seal the ends with duct tape and wrap it around a tree to anchor it.
If you need an indoor anchor, you can attach a hook to a sturdy, low point on your wall and then snap on a carabiner to keep the ropes in place. Whatever rope material you use, covering the ends with duct tape will give you a better grip and keep them from fraying.
Link: How to make battle ropes (step-by-step)
Battle ropes workouts target multiple muscle groups and are great for raising your heart rate without grinding your joints. They work great in sprint routines for HIIT. If you want to improve your hand coordination and shoulder mobility, you can perform battle ropes exercises with a slower, less explosive motion.
With a bit of creativity or a Google search, you can use battle ropes to work out most of your upper body. If you add some simple jumps, squats, and lunges to your roping, you can even include your lower body as well.
DIY Pulley System
A DIY pulley can make pushing exercises safer and smoother.

Free weights work great on pulling muscles that contract when you lift the weights toward you against gravity. Working out pushing muscles (like triceps and lats) with free weights often requires you to lift the weights over your head or behind you. Dumbell pullovers and French presses are good examples. This can feel awkward, distracting, and require good form. Using pulley exercises is more forgiving and also allows you to use heavier weight than you would use with compound free weights exercise.
A pulley system in your home gym can allow you to reverse gravity. This makes hitting the pushing muscles in your posterior chain a lot easier. It also removes the danger of suspending heavy items above your head. Less risk means you’ll be able to load up your pulley with a lot more weight and focus on the burn.
Another advantage the pulley has over free weights is the constant resistance. Due to your body’s mechanics, lifting free weights tends to relax your target muscles at the top and bottom of each movement. With a pulley, the cable resistance stays the same all the way, which helps work your muscles harder.
If you want to build a pulley system for your home or garage gym, we show you how to make three kinds of homemade cable machines. Two easy versions for DIY beginners that should only take around half an hour to complete. Or, if you are up for it, a more advanced version that is essentially a homemade cable crossover with high and low pullies. It takes more time and uses more materials, but it’s actually pretty easy to put together. You don’t need any special tools or expertise.
Link: How to make a pulley cable machine (step-by-step)
An adjustable DIY pulley is a tool you can use to hit any muscle group if you position it right. The high pulley will let you do triceps extensions, cable crunches, pec flies, and lat pulldowns when you’re working out at home. The low pulley can hit your biceps with pulley curls and your legs with hip extensions, cable lunges, calf raises, and leg curls.
You can find a great list of pulley exercises for the whole body in this section of our guide.
The DIY Power Tower
A power tower is a large structure with strategically placed handles that let you do various bar exercises with your body weight.

Depending on how you accessorize your power tower, these may include:
- Pull-ups
- Triceps dips
- Leg raises
- Incline/decline pushups
- Crunches
Most of these exercises are compound movements that target one or two major muscle groups while making you activate your core. This constant core backdrop is like turning on multiple roaring furnaces at once to burn many more calories. It will also bring out those abs and get your heart rate higher than isolation exercises. This variety makes the DIY power tower worth considering to add to your home gym setup.
If you want to make a power tower, check out our two plans for homemade power towers. There’s an easy to build, lightweight version, as well as a more heavy-duty power tower.
The simple version is the DIY galvanized pipe power tower. With the correct matching pipe lengths and appropriate elbows and T-joints, you should be able to put together this simple, solid machine in under an hour. In addition, the galvanized pipes don’t weigh too much, which makes this power tower easy to move around.
The more advanced wooden power two is intended for those with a backyard. It is bigger and uses blocks of wood joined with heavy-duty L brackets. It takes up four square feet on the ground and is a giant seven feet tall, which is why we recommend you build it outside. You can also move this power tower when necessary, but the wood makes it quite heavy.
DIY Dip Station
Think of the dip station as a bare-bones power tower with no extra accessories. It’s made with just two handles that run parallel to each other and the ground for doing triceps dips. If you already have a separate pull-up bar in your home gym, you may not need a whole power tower. In that case, a dip station will do.
We’ve got step-by-step videos showing how you can build a dip station.
The simplest version is a wall-mounted pipe dip station. This one is made out of galvanized pipes mounted to your wall studs. It ends up being very stable, but you won’t be able to move it around. It is, however, easily strong enough for weighted dips.
The slightly more complicated version is a dip station made out of wooden planks joined with L brackets. If you have a power drill and can get your lumber supplier to cut the wood for you, this cuboid with handles will only take a couple of hours to put together. It actually looks quite elegant and beautiful in a minimalist way.
Link: How to make a power tower (step-by-step)
Make A Stair Stepper
A stair stepper is a low platform about the height of a single stair. It’s used for light stepping exercises.

You can step slowly to improve bone strength and blood circulation if you’re an elderly exerciser. You can also step quickly to improve foot agility if you’re a younger athlete. Either way, a good stair stepper should be covered in some kind of grippy non-slip material to prevent accidents.
This DIY exercise stepper includes a plan for making a stepping platform that is about six inches tall. It should be sturdy enough even if you’re on the heavier side. It’s also highly portable, easy to move around the house or store away if space is a concern.
You’ll need to saw a few two-by-fours or get your provider to cut your wood. You should also have a power drill for screwing the planks together and a staple gun to attach the non-slip cover. The project will only take about an hour from start to finish.
Link: How to make an exercise stepper (step-by-step)
It isn’t fancy, but a simple stair stepper made out of wood can help you get in some cardio without leaving home. It primarily targets your leg muscles and heart rate, but you can also use it for triceps dips and decline pushups.
Using a stair stepper can promote bone strength in your legs without much impact or knee bend. It’s also a great way to increase blood circulation in your lower body.
Athletes can also use the stair stepper for footwork drills to increase leg speed and accuracy. If you add ankle weights, resistance bands, or DIY dumbbells, you can step with extra weight and really tire yourself out.
Build A Rowing Machine
Now that you’ve looked over and maybe even built a few of our beginner simple DIY projects, you may be ready to try out something a bit more complex yet very rewarding, a DIY rowing machine.
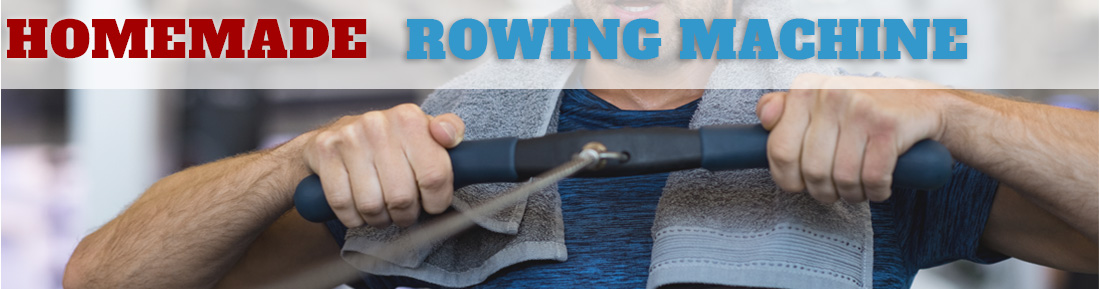
Don’t worry if you want to row but still aren’t comfortable with your carpentry skills. Besides the complicated one, we also have two easy rowers that you can slap together from things in your garage.
The two easier rowers in our guide are portable machines designed around three basic sections:
- A rolling seat
- A foot anchor
- Resistance bands with a handle
The easy version uses a skateboard for the rolling seat. The other lets you build your own seat out of plywood and some caster wheels. Either version can roll up to fit in the trunk of your car. All you need to use them anywhere is some kind of sturdy structure where you can tie the resistance bands.
The Skateboard Rower should take about five minutes to put together. The Shoelace Rower, where you build your own seat, will probably take around half an hour to make once you get all the pieces together.
The more advanced project is called the power rack rower. It’s designed to be set up around a power rack with a low pulley. You can also set it up around the low pulley from our homemade cable crossover machine.
The low pulley provides the resistance, taking the place of the resistance bands in the easier versions. The low pulley cable will run through a foot anchor with angled footrests and safety straps made from a belt.
The machine’s base is a long two-by-10 plank that also acts as a rail for the rolling seat. So you’ll need to be careful when you attach the seat’s wheels to make sure they’re in precisely the right place to let it roll smoothly along the rail.
If all that sounds manageable, we encourage you to try this project. It may take a couple of days to build, but you’ll have a durable, functional full-body workout machine that you can be proud of.
Link: How to build a rowing machine (step-by-step)
The rowing stroke is one of the best compound movements you can do that not only strengthens your back but also improves your cardiovascular health at the same time.
Even a few 15-minute rowing sprints sprinkled throughout the day can keep your heart happy. It will also get your blood circulating and your lungs thoroughly oxygenated.
If you do it right, rowing activates almost every muscle in your body. Minor adjustments to your center of gravity can target different muscle groups. Minor adjustments to your speed can optimize for either endurance training or HIIT bursts.
Rowing is one of the rare exercises that hits mainly your posterior chain. These muscles include your lats, triceps, glutes, hamstrings, and calves. Regular rowing can help you work on balancing your posture correctly and making your muscles work together. It’s also a low-impact movement that can keep you stable and mobile deep into your senior years.
Exercise Like A Gymnast Using Homemade Parallettes
Parallettes are like a versatile version of the fixed parallel bars used by artistic gymnasts.
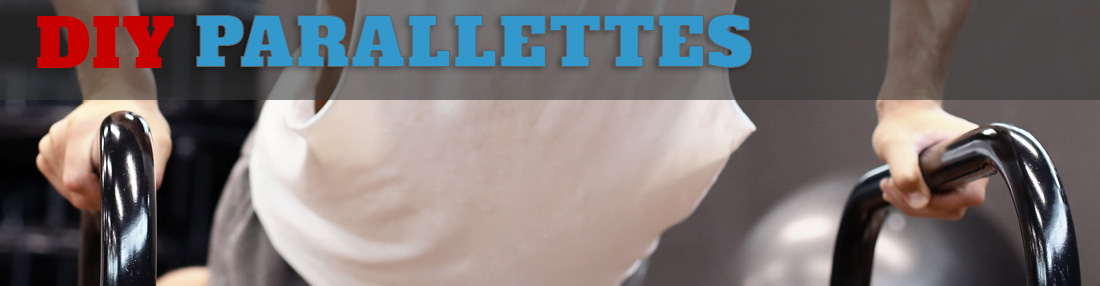
You can make parallettes using either galvanized pipe or PVC pipe. We like pipes for parallettes because they’re smooth, round, and generally the right size to grip in your hands. They’re also quite strong for their light weight.
The DIY parallettes are essentially two separate standalone horizontal bars that aren’t joined together. That means you can place them at your ideal width, depending on your body and the specific exercise you want to use them for. It also makes them easier to transport. The two bars should be the same height and length. This is usually a couple of feet long and somewhere between knee and waist height.
In the galvanized pipe version, you’ll buy the right lengths and screw them together. Then, you’ll add electric tape to the handles and tennis balls to the legs for extra grip. It should take under half an hour.
In the PVC pipe version, you’ll cut your own lengths of PVC and glue them to the attachments with PVC primer and cement. You’ll need a hacksaw and sandpaper. This version may take up to an hour.
Link: How to make parallettes (step-by-step)
You can use parallettes to do triceps dips, leg raises, incline pushups, and much more.
Parallettes are designed for elevating your body off the ground slightly. This lets you work out using your body weight without too much danger.
The great thing about elevating your body is that your core must take over most of the stabilizing functions. Parallettes are a great way to hit your core muscles and work on overall stability.
Start Building Your Home Gym
Doing it yourself has never been easier, and we’ve provided detailed step-by-step plans and videos, so you don’t have to be a handyman to build a decent machine.
With the exercise equipment we covered in this article, you can target every muscle group and have a full-body workout at home without buying any equipment.


Leave a Reply