If you’re like me, then you probably like to try a variety of exercises. In fact, several studies and fitness experts say that when it comes to exercise, variety is often the key to sticking with a “get fit” plan and achieving the results you want.
Sometimes dumbells or barbells simply won’t cut it, you want something new, something fresh.
The solution: Battle Ropes!
And what’s even better if you can build your own gym equipment and save money?
DIY battle ropes are quite easy to make and set at your home or outside with almost no effort.
I’ll give you some good ideas and tips so read on.
Oh, and while you are in the DIY mood, make sure to also check out our full guide to making your own home gym equipment.
I have been training for over 20 years, and I can tell you that many times I am forcing myself to train and don’t feel like it at all.
It’s not that I cannot force myself, it’s just that I can definitely feel the mental drain.
When was the last time you incorporated something completely new into your workouts?
Adding some variety to your home workout routine doesn’t have to mean investing in tons of expensive equipment.
For instance, you could make some do-it-yourself battle ropes for just a few bucks.
After you see how easy it is to make battle ropes check out the list of top 7 battle rope exercises.
To learn what battle ropes are, why they provide such an incredible workout and how to make your own battle ropes, continue reading.
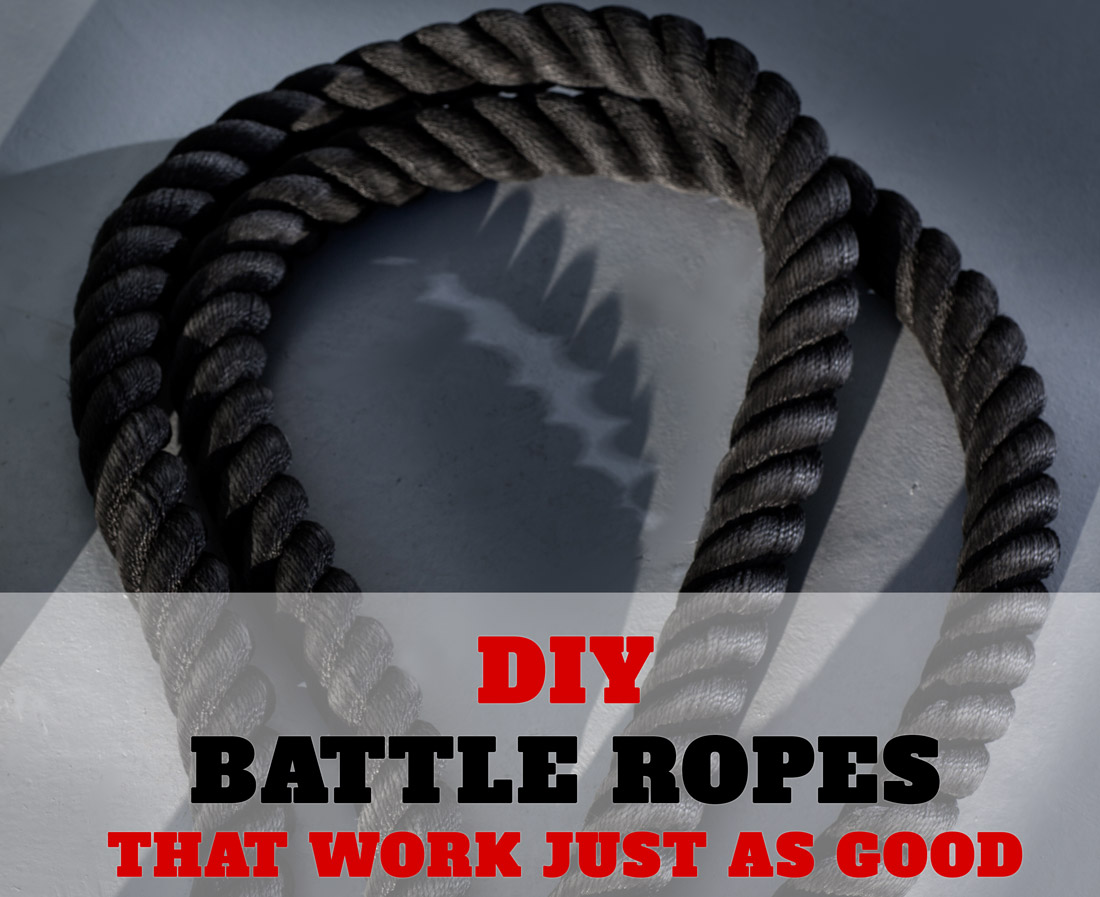
What Are Battle Ropes?
Not so long ago, battle ropes were used mostly by mixed martial arts fighters and football players.
Today, they are making an appearance in gyms and homes across the country as everyone from professional bodybuilders to soccer moms realizes that battle ropes provide an incredible, total-body workout.
If you’ve been to a gym lately, then you probably already know what I’m talking about.
You probably spotted someone using what looked like a pair of long, heavy ropes that were attached to a wall, pillar or some kind of heavy fitness equipment.
As they made “waves” or “snakes on the floor” with the ropes, you might have wondered just what this unusual fitness equipment actually was.
Now you have an answer: Battle ropes! However, you might still wonder precisely why you’d want to incorporate battle ropes into your routine.
The Benefits of Battle Ropes
In pretty nearly every respect, battle ropes offer an incredible workout. It gives you the opportunity to seriously elevate your heart rate without putting your joints at risk.
By doing a variety of exercises you can work all the muscles using just a set of battle ropes.
Battle ropes also provide amazing muscle toning and strengthening possibilities.
Practically every muscle, from your arms to your feet, may be needed for battle ropes exercises. This means that besides strengthening your arms, back, chest, shoulders, legs, and core, you’ll also burn more calories and improve your cardio level at the same time.
Just as important, you can complete a full workout in about 15 to 20 minutes when you use battle ropes.
If you are the type of guy or gal that doesn’t like spending too much on exercise equipment (I know I am!) I am sure you will be interested in reading about the benefits of resistance bands.
They are compact and versatile, yet you can do countless number of exercises with them for a full body workout.
Resistance bands are the cheapest strength training tool you can buy and not that much more expensive than some DIY projects can be. They are my favorite non-DIY exercise accessory.
The best resistance bands are the Bodylastics and the Black Mountain which I use at home and also take them with me when travelling.
Back to ropes, one study published in the Journal of Strength and Conditioning Research found that most people burn an average of 112 calories in just 10 minutes of using battle ropes!
If you’re short on time for your workout, battle ropes can help you burn serious calories in less than half an hour.
Using Battle Ropes with Other Training
Of course, you don’t have to stick strictly to battle ropes. Maybe your training regimen will include running, a Zumba class, hiking, swimming, weight training and more.
You can use battle ropes in conjunction with, before, or after any of these activities.
For an even better workout and to exhaust your muscles even further, try adding burpees to your workout. Considered by many as the king of bodyweight exercises, the burpee targets your muscles quite differently than battle ropes. Try adding sets of burpees between exercises.
It’s also possible to make battle ropes a part of a HIIT circuit.
Just incorporate a few segments of battle ropes moves with your other strength, conditioning and cardio intervals to get a fantastic total-body workout in no time
Battle Ropes Outside The Gym
Do you have to go to the gym to use battle ropes? Absolutely not!
In fact, since many commercial, big-box gyms only have one or two sets of battle ropes, you might have to wait a long time to be able to use them.
That’s why so many people are wondering about having their very own battle ropes at home.
Are Battle Ropes Expensive?
Commercially produced battle ropes can be expensive. Depending upon their width, length, and the material they are made of, they could cost anywhere from $40 to about $200, including an anchor to which you attach the ropes to.
But keep in mind that you may also have to buy an anchor or strap kit to attach the rope to a tree, column or heavy piece of workout equipment, which adds to the price.
It’s also worthwhile to keep in mind that even the sturdiest rope won’t necessarily last forever. The expensive rope you buy today may need to be replaced in six months or a year.
Plus, if you don’t want to use some kind of anchor but intend to wrap the rope around an anchor point instead, the rope is likely to fray and require replacement much sooner.
As I’ll explain, it’s very easy to make your own, but I understand some people want a quick solution, ready to use.
In that case there are just three things you should care about:
LENGTH – The most recommended battle ropes are 50′ in length (1.5 m).
When anchored will give you 25′ to hold in each hand (75 cm). These require a lot of free space, so if you don’t have much space as in most home gyms, go for the shorter 30′ ones (giving you 15′ to hold in each hand when anchored).
WIDTH – 1.5 inches (3.8 cm) is the standard rope width.
There’s also a 2 inches thickness ropes (5 cm) that work more on the grip and are considered more hardcore.
ANCHOR – You would need a simple anchor to attach the rope to.
The Garage Fit ropes and the Yes4All ropes are two popular low cost ropes, and for an anchor check out the Ignite anchor kit.
Make Your Own Battle Ropes
Fortunately, there is a lower-cost alternative.
We’ll give you many ideas in this article for making your own battle ropes.
They will get your heart rate up just as quickly and help you gain strength just like the more expensive commercial ropes.
However, there’s one big advantage:
These DIY alternatives don’t cost much money at all. In fact, you might already have most of what you need.
Ready? Let’s dive in!
Garden Hose Battle Ropes
If you have a yard, then you probably have a garden hose.
Maybe you even have several, and you’ve held on to an old garden hose for years because you always thought it might be useful someday.
Well, that someday has arrived.
Even if you don’t have an old garden hose lying around the garage, you can still make garden hose battle ropes with a minimum expense.
A DIY battle rope fire hose that is 50 foot long would probably cost around $15 at your local hardware store.
That’s a much better price than $150 for a commercially produced battle rope.
Doing Exercises with your Garden Hose
Getting Started With a Garden Hose Battle Rope
For people who haven’t exercised in a while, the garden hose may be heavy enough for initial workouts as you get used to the basic battle ropes exercises.
As your strength and endurance grow, you’ll probably want to add some weight to your garden hose.
For about $3, you can pick up a bag or two of play sand, which is the sand that usually goes in sandboxes.
Increase The Challange
Filling the garden hose with sand requires a bit of patience. You’ll be able to fit between 10 and 20 pounds of sand in a 50-foot garden hose.
It’s best if you make certain that the sand is completely dry before you begin. Use duct tape to seal the ends of the hose.
A less time-consuming option is to fill the garden hose with water. You simply cap one end, fill the hose, then cap the other end.
Regardless of whether it is filled or empty, you can just wrap the hose around a tree, post or column to create an anchor point.
Alternatively, you could string the garden hose through the handle of a heavy kettlebell. Further, secure the anchor by piling sandbags around the kettlebell.
Call the Fire Department!
If you don’t have an old garden hose and you don’t want to spend money buying one, then maybe you should get in touch with your local fire department.
You see, fire hoses don’t last forever. After a certain number of years, they have to be decommissioned.
This is your opportunity to get the bargain of the century!
Many fire departments around the country are willing to give away these decommissioned hoses for free.
Seriously, they’ll probably be grateful if you take one or two off of their hands.
One is all you need to make a great battle rope, but you might take a couple if you’ll be working out with a buddy or want to have a backup.
Transforming a Fire Hose
Chances are good that your new fire hose has heavy metal couplings at one or both ends.
You don’t really need these, so take a hacksaw and get rid of those couplings for good.
Then, wrap both ends of the fire hose with a few layers of duct tape. Some people have reported better success when they fold the ends over on themselves and then apply the tape.
Give Yourself a Challenge
At first, you’ll probably feel like that fire hose weighs a ton.
However, if you stick with it, you may find yourself seeking a greater challenge after a few weeks or months.
The solution is easy and familiar.
Cut the duct tape off of one end of the hose, then fill the hose with sand or dirt.
Filling a fire hose is much easier than filling a garden hose.
That’s mostly because fire hoses tend to have a diameter of about two and a half inches, while garden hoses are far narrower.
Nonetheless, you’ll still have to work to make certain that you fill the whole hose. Trust me, the challenge is worth it, especially if you’re seriously budget conscious like I am.
Get a Rope
Garden hoses and fire hoses are both effective, low-cost alternatives to fancy battle ropes.
However, if you’re really stuck on the idea of having battle ropes that are actually made out of rope, you can still get the job done without spending a ton of money.
You have options when it comes to getting inexpensive rope.
I’ve had friends who contacted a local climbing center or rock wall gym and asked if they could have any old climbing ropes that aren’t being used anymore.
You can braid or twist several of these narrow ropes together, securing them with duct tape, to make a heavy-duty battle rope that can withstand your toughest workouts.
Alternatively, you could make a run to the nearest hardware store to pick up some rope.
Marinas and marina supply stores are other places where you might find a suitable rope.
What to Look for In a Rope
Battle ropes are typically one and a half or two inches in diameter. It shouldn’t be too hard to find a suitably thick rope at the hardware store.
You could buy narrower rope and braid together two or three of them, but that tends to be time-consuming and difficult.
I recommend buying a 50-foot length of rope. Remember, the longer the rope is, the more challenging it will be to get it to move all the way down to the anchor point.
Fifty feet of rope is pretty versatile, and you can challenge yourself with it.
When you’re starting out, you might wrap the rope around the tree, pole or other anchor point several times to shorten its length.
You can eventually unwrap it until you have two equal halves of about 25 feet each.
Typical battle ropes can be longer or shorter, it really just depends on the level of challenge you’re looking for.
Preparing Your Rope
Unless you put some type of handle on both ends of your rope, you’ll probably find it pretty difficult to grip it, especially if you get sweaty.
That’s why I recommend wrapping each end of the rope in a few layers of duct tape. This will make it much easier to grip.
If you leave the ends of the rope uncovered, even just an inch or so, then the ends may begin to fray. This can be bad news for the overall durability of your rope.
Battle ropes made of nylon or similar material can be protected if you singe the ends with a candle lighter.
Hold the end of each rope to the flame, allowing the end to melt. It will come out looking black and singed. Be aware that this will cause a smell. You may want to do it outside.
Tips for Using More Than One Rope
Burning the ends of a nylon rope or a rope of similar material may also be practical if you’ll be using more than one rope to make your finished battle rope.
You can use the candle lighter to melt the ends of the ropes together. This will make it easier to bundle them together with duct tape.
Some people have braided or twisted multiple ropes together to form a battle rope of a suitable width of one and a half to two inches. It can be a frustrating process that takes a lot of time.
An alternative is to bind the ropes at regular intervals with electrical tape. I recommend adding a strip of tape after every foot.
This tape may need to be periodically replaced, depending on how much you use your battle rope.
Making a DIY Battle Rope Anchor
So you got the ropes now you need to anchor them somewhere.
Wrapping your battle rope around a convenient tree or post is always an option. However, you have many choices for making an anchor if you don’t have access to a suitable tree.
I’ve seen people get really creative with their battle rope anchor. You could fill a wire basket with free weights and attach your rope to the basket. Maybe you’ll wrap your rope around several dumbbells.
Other people will drive a stake into the ground. The stake has a sturdy loop on the end that you can attach your rope to. I’ve also seen people attach a hook low on a wall and then hook their rope to it with a carabiner and a sturdy nylon strap.
You may have to experiment with several potential anchors before you find the one that works for you.
If you plan to use your battle ropes at home and while you’re on the go, then it may make sense to choose an anchor, like a stake that goes in the ground, that’s easy to take with you wherever you go.
Get Ready for the Battle
Now that you’ve made your own battle ropes, check out the best battle ropes exercises and start spicing up your home workouts.
Don’t fall for the myth that battle ropes are just for elite athletes.
Battle ropes are for everyone, and they can help you achieve your loftiest fitness goals without spending a ton of money by making your own equipment.
If you are in the DIY spirit, I suggest you also make a kettlebell and a set of dumbells.




Leave a Reply