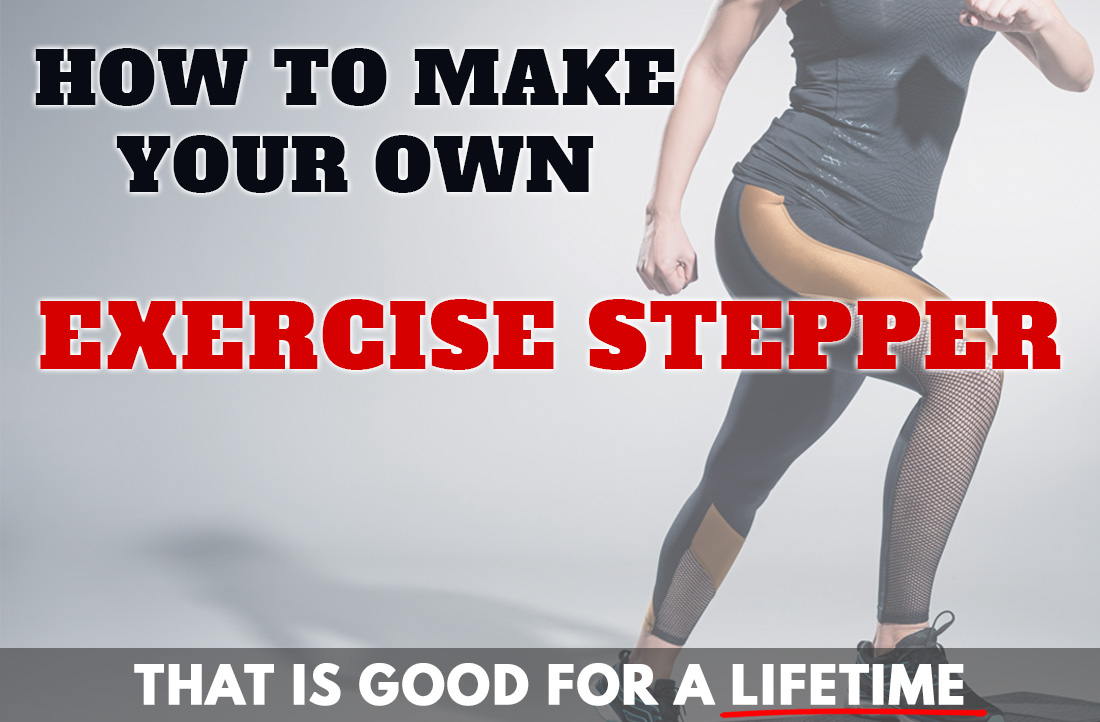
The exercise stepper, many times referred to as a fitness step, is one of the simplest pieces of cardio workout equipment. It’s essentially just a stable platform covered with non-slip material.
You can make a robust DIY aerobic stepper quite easily. We’ll show you how to make a homemade exercise stepper that’s good for a lifetime! Much much better than the plastic ones you see at sports stores.
The stepper is used primarily for lower body and leg exercises, though you can do upper body exercises as well. For example, you can do decline push- or dips.
While you can make other workout equipment, the stepper doesn’t take up much space and is easy to make, so why not make one and add it to your home gym setup?
If you’re comfortable with using a saw, you can buy long wooden boards and cut them into the right lengths, as shown in the method below.
Don’t want to use a saw? No problem, you can buy pieces of wood that are already cut into the sizes you’ll need.
Don’t underestimate the usefulness of the step platform. Yes, it is simple, but you can achieve a great cardio workout with it, even by merely stepping on and off of it.
Why Would You Want A Homemade Exercise Stepper?
This DIY aerobic stepper is small, light, yet sturdy and easy to transport.
At only about six inches off the ground, its low height provides a low impact workout. You’ll never have to bend your knees more than 90 degrees, and you won’t hyperextend your spine.
This stepper can help you build leg flexibility and core strength. If you’re a beginner, you can use it regularly to improve your balance and coordination. If you’re an athlete, you can use it for footwork drills to improve your agility.
You can increase the difficulty of the leg exercises by using ankle weights or a jump rope. You can also include your upper body by using resistance bands, kettlebells, or dumbbells while you step up and down.
We think an exercise stepper is great as a simple exercise tool, whether by itself or as an addition if you are trying to build your own mini home gym.
DIY Aerobic Exercise Stepper
TOOLS
- Saw (a table saw or an electric miter saw are the easiest to use, but you can also use a handsaw or a bow saw.)
- Staple gun
- Scissors
- Power drill
- Drill bit, ¼-inch wide
- Tape measure
- Marker or pen
SUPPLIES
- 1 wooden two-by-four, about 66 inches long
- 1 wooden two-by-six, about 36 inches long
- 16 exterior screws, ¼-inch wide and 2 ½ inches long
- Non-slip shelf liner, about 20 inches wide and 54 inches long
- Plenty of staples
STEPS
Making your own aerobic stepper isn’t difficult.
Don’t be intimidated by the number of steps outlined here. We just wanted it to be super clear. Some of the steps will only take a couple of seconds.
Preparation
- First, we need to cut our wooden boards into the appropriate lengths. Use your tape measure and marker to divide the two-by-four into three equal sections 22 inches long.
- Now, grab the two-by-six. Mark out four equal sections, each measuring nine inches.
- Use your favorite saw to cut up the wooden boards along your marked lines. You should end up with three pieces of two-by-four, each 22 inches in length, and four pieces of two-by-six, each nine inches long.
Legs
- The two-by-six pieces will be the legs of your stepper. Stack two of them and use two exterior screws to screw them together. You may want to mark the locations first and use your power drill to get the holes started so it’s easier to screw in the screws.
- Never put two screws along the same wood grain line or you may risk splitting the board. A good tip is to put the screws about two inches from any two opposing corners in a diagonal line.
- Screw the other two two-by-six pieces together using the same technique. Your two-leg pieces are now ready.
Platform
- Next, we need to screw the platform to the legs. Center one end of one of the two-by-four pieces perpendicularly over one of the two-by-six legs. It should look like a blocky uppercase T.
- Mark two holes in the two-by-four platform above the area where it overlaps with the leg. Once again, the holes should be in a diagonal pattern to make sure you don’t split the wood.
- Use two of the screws to secure the first two-by-four platform to the first leg.
- Repeat steps 7-9 to fasten the other end of the first two-by-four to the other leg piece. Your two-by-four should now look like a bridge connecting the two leg pieces at their opposite ends.
- Let’s turn the one-lane bridge into a three-lane highway. Place the remaining two-by-fours on either side of the first and parallel to it. The tips should line up perfectly both with the tips of the first board and with the sides of the leg pieces underneath. There should be a bit of overhang where the sides of the two-by-four platform meet the tips of the two-by-six legs below.
- Mark and drill all the necessary holes to fasten the remaining loose two-by-fours to the legs. These screws should also be placed diagonally. You now have the skeleton of your exercise stepper.
Cover
- Lay out the non-slip shelf liner on the ground or any flat surface.
- Turn your exercise stepper frame upside down and center it lengthwise on top of the shelf liner. The legs should be facing up. There should be plenty of shelf liner sticking out from under both ends of your frame and a few inches of surplus material peeking out underneath the other two sides.
- Take one end of the shelf liner and wrap it up over the side of your stepper, across the bottom of one leg, and then over the inside of that leg. It should make three right angles.
- Use your staple gun to staple the liner to the inside face of the leg. Use as many staples as you feel you need.
- Repeat steps 15-17 with the other end of the liner and the other leg. You should now have a wrapped upside down stepper with a bit of liner overhang on the sides.
- Let’s take care of that extra liner. Use the scissors to cuts slits in the liner overhang at every right angle. The idea is to make flaps that fold over each other like the top of a cardboard box.
- Fold the flaps in any order, and staple them to the wood. All the corners of your stepper should now be neatly wrapped in a non-slip shelf liner.
- Don’t forget to cut, fold and staple the liner sticking out from the sides of the top of the platform as well.
TIPS
- The 3 two-by-fours placed side by side measure a total of 12 inches. The legs underneath are only nine inches long. This should give you about an inch and a half of platform overhang on each side of your stepper.
- Don’t worry, this is all part of the plan. The overhang gives you a place where your fingers can grip the edge of the platform. This comes in handy when you need to use the side of your stepper to do dips or other low-floor exercises.
Some Tips For Safe Stepping
- When stepping up, always bend your ankles instead of your waist. This will help put minimal stress on your lower back muscles.
- Never pound your feet when stepping up or down. The softer you step, the less long-term damage you’ll inflict on your joints and bones.
- If you suffer from arthritis or joint pain and instability, you can hold on to a chair to give you some extra balance while you step.
- Make sure to keep your entire foot on the platform when stepping. If you step up with only your toes and leave the rest of your foot hanging off, the platform may become unstable and tip over.


Leave a Reply