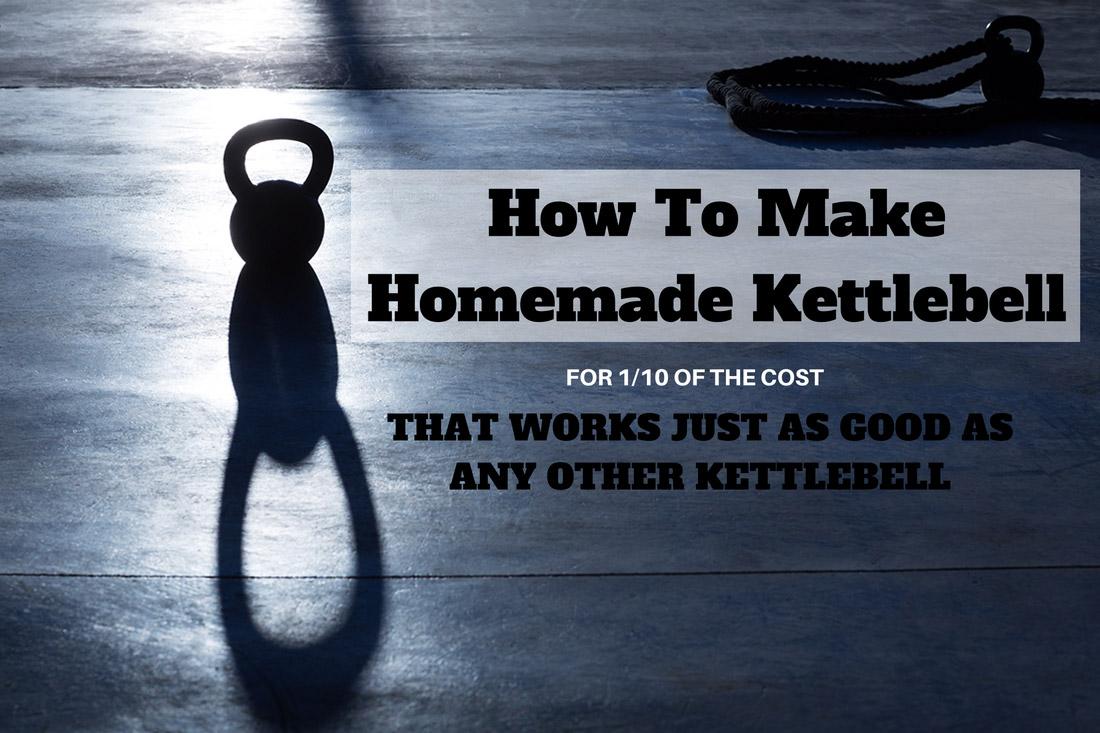
Kettlebells are literally an all-in-one gym. It is very easy to make your own homemade DIY kettlebell in under 2 minutes.
It is one of the smartest tools you can use to increase strength, improve cardiovascular fitness, and lose weight.
More and more coaches and personal trainers advocate the use of kettlebells in workouts. Any decent gym includes kettlebells as part of its equipment repertoire. Dumbbells are great, but there are unique benefits to doing exercises with kettlebells.
Whether or not you have a gym membership, having a kettlebell at home gives you more options, plus a DIY kettlebell will work just as well as any other kettlebell you can buy.
Don’t have much time? No Problem!
Kettlebell swings are a great way to add in extra exercise if you only have a few minutes. Or you can perform an entire workout with one kettlebell on the days you can’t make it to the gym.
Kettlebells on a Budget
Kettlebells are not cheap, especially when you consider expanding your kettlebell collection beyond one or two bells. If you’re just starting out or you don’t have much cash, consider making your own kettlebell with items you might already have at home.
DIY kettlebells are easy and cheap to make, you can purchase everything you need at your nearest home improvement store or online.
Kettlebells or Dumbbells?
You might be wondering, aren’t dumbbells just as good as a kettlebell?
Well, why do you think dumbbells are called that?
Because they are DUMB (as in stupid) hahaha, sorry, I couldn’t resist. I am just kiddin’ 🙂
Ok, now seriously, dumbbells are good and do have their benefits, but a kettlebell can add an extra dimension to your workouts.
Dumbbells are great for
- Isolating specific muscle groups
- Increasing strength
- Beginners learning to work out with free weights
Although this article focuses on making your own kettlebells, DIY dumbbells are just as easy to make using household material.
Advantages of Kettlebells
- Versatile handle that allows for a greater variety of exercises
- Unique, off-centered design that challenges your entire body during every exercise
- The option to work slow “grinds” or quick, explosive movements
- The ability to train a wider range of motion
- Huge improvement in grip strength
Let’s look at more benefits of kettlebell training.
Kettlebell Training Is King
Here are a few of the top reasons why you should train with kettlebells:
- Workout in the privacy of your home and save time traveling to and from the gym
- Relatively small, easy to store, and portable
- Train full body strength, endurance, and power all at once
- Cheaper than a machine and nearly indestructible (no maintenance costs!)
- Time efficient, full-body workouts
- Target the core muscles with each exercise
- Blast calories and fat
Kettlebell exercises also increase flexibility while strengthening the joints. Kettlebell workouts can be varied and are only limited by your – or your trainer’s – imagination.
Having variety makes it more likely that you will stick with your workouts. You will never get bored!
Here are 3 more advantages to consider:
- They strengthen joint tendons and ligaments while providing a cardio workout that is easy on the joints
- They work head to toe
- Increases mental focus and coordination
Can you now see why kettlebells are so amazing?
One fitness tool that does so much!
Let’s take a look at six different ways you can make your own kettlebell at home, from the most simple and inexpensive to methods that require slightly more money and time.
DIY Kettlebell Methods
1. Milk Jug Kettlebell
Difficulty Level: Very easy
Time Required: Less than 2 minutes
What You Need:
- Milk jug
- Sand
Steps:
- Fill an empty milk jug with either water or sand to create a kettlebell
- Seal the lid on the jug
Pros:
- Very easy to make
- The least expensive DIY kettlebell
- If you use water, the movement of the water will create a unique challenge as it sloshes around
- You can easily make two of these kettlebells and have a matching set
Cons:
- The weight is light
- You are limited to only one handed kettlebell exercises
- The plastic handle may hurt your hands, especially if there are rough edges
Notes:
- This is a great DIY kettlebell for beginners. Not only is it inexpensive and quick to make, but it’s a lighter weight which is great for those new to kettlebells.
- If you are traveling and don’t have exercise equipment or access to a gym, this Milk Jug Kettlebell is a great option.
2. Kayak Dry Bag Water Kettlebell
Difficulty Level: Very easy
Time Required: Less than 2 minutes
What You Need:
Steps:
- Order your kayak dry bag
- Fill it with water and that’s it!
Pros:
- Incredibly simple.
- Perfect for travel.
- Allows for a variation in weight.
- Offers an extra challenge with the movement of the water.
Cons:
- The handle will wear out.
- Depending on which Kayak bag you buy, the cost is between $20 to $30.
- Limited number of exercises due to the structure of the handle.
- The buckle handle may be annoying.
- The size of the bag will determine which exercises you can do. That is, a larger bag would weigh more but would make swinging difficult.
Notes:
- This is a very smart DIY kettlebell for traveling. The empty, waterproof bag is light and easy to transport. Depending on the size of the bag you purchase, you could fill it with up to 60-70 pounds of water. I would suggest buying a high quality Kayak Dry Bag that would last longer.
3. The Dumbbell-Kettlebell
Difficulty Level: Easy
Time Required: Less than 1 minute
What You Need:
Steps:
- Take a piece of rope and tie it to each end of the dumbbell’s handle, that’s it.
Pros:
- Very simple.
- Choose the thickness of your handle (rope) to suit the grip size of your hand.
- In some ways, the looseness of the rope mimics the instability of a kettlebell.
- Dumbbells are less expensive than kettlebells, plus you’ll have the dumbbell good for dumbbell exercises.
Cons:
- The pliable handle allows for movement and is less predictable than a fixed handle. Use with caution.
- Cost increases if you buy a dumbbell.
- Keeps the dumbbell-kettlebell below chest height when swinging.
- Used as a kettlebell, this dumbbell-kettlebell should be used for only the swing.
Notes:
- This DIY kettlebell appears to be a quick alternative to other forms of kettlebells, but I recommend that you use this method cautiously. A rope end could easily come loose, or the limp handle may cause an injury. However, this is a good way to try out a kettlebell swing if you are cautious.
Link: Making homemade weight set
4. T-Handle Kettlebell by Tim Ferriss
Difficulty Level: Easy
Time Required: About 10 minutes
What You Need:
- Longer 3/4 inch pipe with nipple (8 inch long for people 5’5” or shorter; 12” long if you are over 5’5”)
- Handle – two 4 inch long 3/4 inch pipes and one T Fitting
- One 3/4 floor flange
- Weight Plates
- Spring Clamp
Steps:
- Make the handle by securing the two 4” pieces of pipe on either side of the “T” fitting.
- Secure the longer pipe (8-12” piece) into the vertical end.
- Place weight plates onto the long pipe.
- Finish your DIY kettlebell by attaching the floor flange.
- Optional: Place the spring clamp just above the weight plates to prevent the plates from moving around.
Pros:
- Very inexpensive kettlebell if you already have weight plates.
- Easy to adjust the weight of your kettlebell by adding or removing weight plates.
Cons:
- This DIY kettlebell is limited to two handed exercises.
- The handle may be uncomfortably wide, especially for shorter people as they swing between their legs.
- This DIY kettlebell will be more expensive if you purchase weight plates.
- Gloves are recommended to protect your hands, however, they reduce your contact with the “kettlebell” and increase the chance of blisters when the material gets pinched.
Notes:
- It is recommended that you replace the T-handle every six months.
- If you would rather not wear gloves, you can cover the pipe threading with tape.
- Do not swing the T-Handle Kettlebell above shoulder height.
- The movement of the plates could be dangerous. Check the T-Handle kettlebell frequently for wear and loose parts.
Link: Tim Ferriss Kettlebell
5. Cement Kettlebell with Pipe Handle
Difficulty Level: Moderate
Time Required: 10 minutes plus cement drying time
What You Need:
- Soccer Ball
- Cement
- 3 pieces of 3/4 pipes
- 4 – pipe elbows
- Spray paint (optional)
Steps:
- Make a 3-sided square handle using three shorter pieces (4-6”) of pipe and four pipe elbows. The bottom two elbows allow for more contact area to create a stronger bond in the cement.
- Cut your ball open with one six inch slit that has small holes on either side big enough for the pipe handle elbows to fit in easily.
- Mix the cement according to directions and fill the ball 3/4 full.
- Insert the pipe handle and top up your ball with cement, flattening it at the top.
- Allow cement to dry before spray painting.
Pros:
- You can use it for two-handed and one-handed exercises.
- Handle similar to a real kettlebell.
- An inexpensive option for a kettlebell.
Cons:
- This DIY kettlebell has a fixed weight determined by the size of the ball you buy.
- The handle elbows may irritate your hands.
- Cement may be difficult to work with.
Notes:
- Prepare your work area before you begin working with cement.
- Consider what shape you would like your kettlebell to have on the bottom as well as how deep set you want your handle to be.
6. Cement Kettlebell with PVC Handle
Difficulty Level: Moderate
Time Required: 15 minutes plus cement drying time.
What You Need:
- No products found.
- sand
- cement
- basketball
- duct tape
- spray paint (optional)
Steps:
- Use duct tape to cover one end of your PVC pipe. Fill the pipe with sand and then tape the other end shut.
- Heat the PVC pipe in an oven set at 350°C for a few minutes until it is moldable.
- Remove the PVC pipe and bend it into the shape you want for your handle. Submerge into a pail of cold water.
- Cut into your basketball ball with a utility knife in a capital “I” shape.
- Mix the cement and pour it into the ball until it’s 3/4 full. Put the PVC handle in and top up the ball with additional cement
- Allow the cement to dry according to the directions before spray painting.
Pros:
- Good for long-term use
- This handle mimics the shape of a real kettlebell, and it is smooth on the hands.
- You can perform two-handed exercises with it.
Cons:
- Cement can be difficult to work with.
- Be careful when heating the PVC pipe in the oven. It may create a bad smell if overheated.
Notes:
- When heating the PVC pipe handle in the oven, do not leave it unattended.
- Read the instructions before mixing the cement.
- Prepare your work area before mixing the cement.
So Which Kettlebell will You Choose to Make?
Now that we’ve looked at several kinds of DIY kettlebells, what it comes down to your personal preference and your DIY skill.
Do you prefer a PVC pipe handle or do you like the feel of galvanized pipe in your hands?
Do you want a kettlebell that you can do only two-handed exercises with or are you satisfied with only doing one-handed exercises?
Do you want to work with cement or would you prefer the simplicity of water or sand?
If you desire a kettlebell that is easily adjustable, you’ll want to stick with the T-handle with the weight plates.
No matter which DIY kettlebell you choose to make, you’ll be saving yourself money while creating an amazing fitness tool. Even if you would be limited to performing only swings with your make-shift kettlebell, you will still be burning fat, strengthening your muscles, and increasing your endurance in just a few short workouts a week.
A kettlebell, whether bought or homemade, is one of the best fitness tools you can own.
Now why not also make your own battle ropes? It is super easy



Leave a Reply